The HiBob integration for HiThrive provides a one-way data sync of employee details from your HiBob instance to your HiThrive team. HiBob user data is automatically imported on a nightly basis over an encrypted HTTP connection. Only the fields permissioned (and mapped in HiThrive) are accessed – no other employee details are accessed or saved. This integration also provides single sign-on access for users to access HiThrive (admin, manager reporting, and reward redemption portal) directly from their HiBob dashboard.
What are the benefits of this integration?
Reduced administrative workload
First, this integration reduces the workload for your HiThrive administrators by automating user creation. New users will be automatically populated in HiThrive from HiBob. Users can also be deactivated based on data from HiBob.
Data consistency
Second, the integration eliminates data inconsistency. Users are updated automatically from HiBob, ensuring that your HiThrive data matches your HiBob data. This allows your organization to use HiBob as a single source of truth for user data.
Improved reporting
With more (and more accurate) user data, your HiThrive reporting and administration is also improved.
Please follow the steps below to enable the integration.
Configuring the integration
(1) In the HiThrive admin view, go to Settings > Integrations. You’ll find the “HiBob Integration” listed on this page. Click on this integration
(2) To begin linking your HiBob account to HiThrive, you’ll need to create a new HiBob Service API user
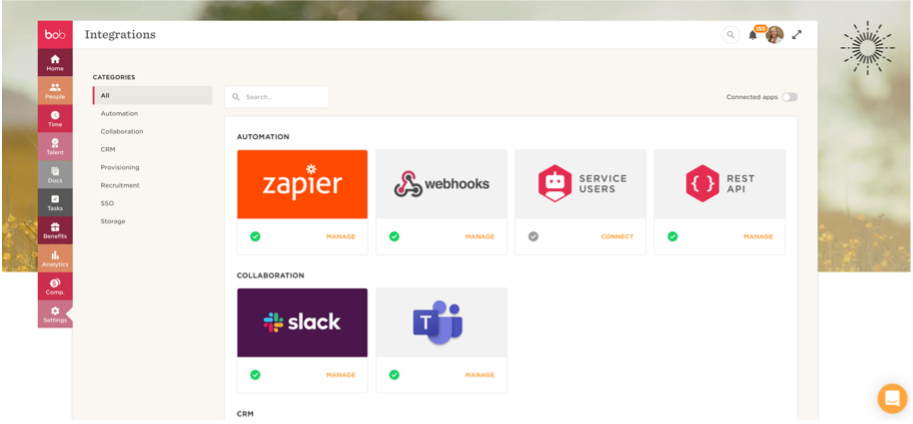
(3) In your HiBob dashboard, navigate to the Settings > Integrations area
(4) Select the Automation category on the left-hand side
(5) Click on the Service Users
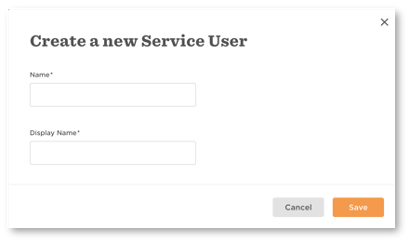
(6) Enter a unique Name and a Display Name in the dialog box that opens
(7) Click Save
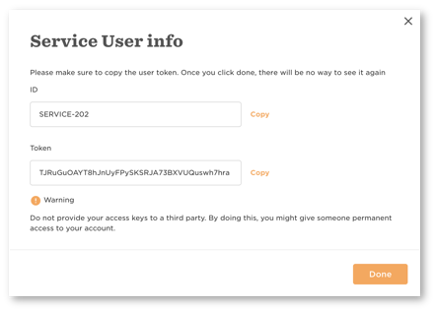
(8) The new service user’s ID and token are now displayed - make sure to keep the token in a safe place, you will not be able to access it again
(9) Click Done
(10) Define the service user permissions by creating or adding the service user to a custom permissions group. Go to Settings > Permission groups from the left menu
(11) Click Create group
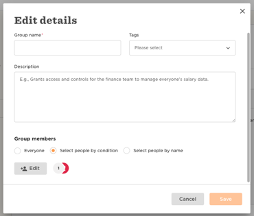
(12) Give the Permission Group a name
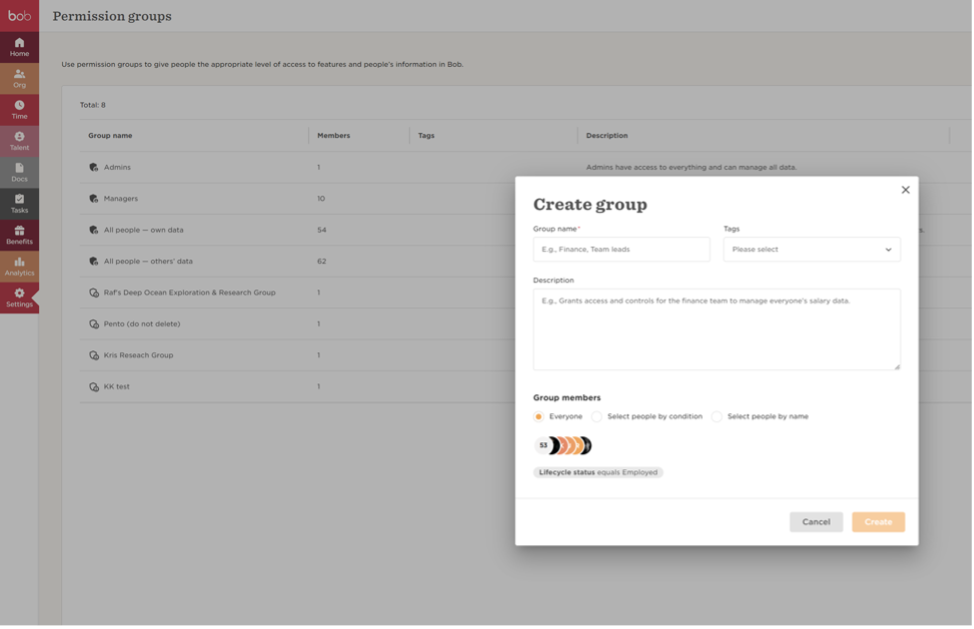
(13) Add the service user you created in step 7 to the permission group. Click on Select people by condition, then select edit.
(14) Delete the Lifecycle status condition
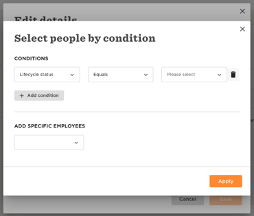
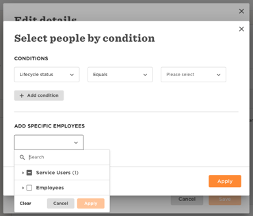
(15) Click on Add specific employees and select the service users and the Service User group you created in step 7
(16) The service user needs to be assigned permission to retrieve all the relevant information from Hibob. Some permissions are assigned by default, but additional permissions will need to be added.
The standard set of required permissions is defined below; however, the categories may have been renamed in your Hibob system, so the descriptions may not match exactly. Please check your Hibob set-up to ensure the correct categories are assigned. Additional categories may be required if you have chosen to sync custom fields from different categories.
If you have any doubts, you can assign the service user View permissions to all categories (be sure to provide additional access to the documents and People > Personal categories where the upload/delete and edit permissions are required). Learn more about service users and custom permission groups here.
In Features, you can assign these permissions:
Features → People → Directory → View the company's people directory
In People’s Data, you can assign these permissions:
People Data → People → About→ View selected employees' About sections
People Data → People → Basic Info→ View selected employees' Basic Info sections
People Data → People → Email → View selected employees' Email sections
People Data → People → Employment → View selected employees' Email sections
People Data → People → Home → View selected employees' Home sections
People Data → People → Lifecycle → View selected employees' Lifecycle sections
People Data → People → Personal → View selected employees' Personal sections
People Data → People → Personal Contact Details → View selected employees' Personal Contact Details sections
People Data → People → User Data → View selected employees' User Data sections
People Data → People → Work → View selected employees' Work sections
People Data → People → Work Contact Details → View selected employees' Work contact sections
(17) Be sure that in Applies To the Lifestyle status equals Any.
(18) Confirm your settings by clicking Save Changes.
(19) Back on the HiThrive admin dashboard, enter your HiBob Service User ID and HiBob Service User Token.
(20) Click “Connect to HiBob”.
Enable the integration and map fields
Once your integration is activated, you will need to map user profile fields to HiThrive.
Enable the integration: toggle the integration to on
Next to Field Mapping, click Edit
Map fields as necessary. At minimum, you must map email address, but you will want to map all fields that apply.
Click Save Fields
You’re all set! HiThrive will begin syncing user data from HiBob overnight. If this integration requires your attention for any reason, you’ll receive an email from HiThrive prompting you to re-connect your HiBob instance.